6 Steps to Filming Your First Fishing Video (Complete Guide for Beginners)
When I was a kid watching fishing videos on YouTube, I always wished I could make one of my own. Back then, it felt impossible. The cameras looked too expensive, the editing too complicated, and honestly, I didn’t think I was “tech-savvy” enough to pull it off.
Fast forward to today, and I’ve filmed hundreds of fishing and hunting adventures for my HuntxCoop channel. Along the way, I’ve learned that filming your fishing trips is not as hard as it seems — especially if you follow a process.
In this blog, I’m going to share the exact 6 steps I use to film my fishing videos. These steps come straight from real-world trial and error, and they’re designed for beginners who want to capture memories or start building a YouTube channel.
Step 1: Decide on Your Goal
Every fishing video starts with a purpose. Ask yourself:
Are you just documenting your trip for fun?
Or are you trying to build a brand, like I’ve done with HuntxCoop?
When I first started, my goal was simple: just capture the catch. I thought if I could get a boat flip or hookset on video, I was winning. Over time, my goal shifted to making content that was fun for other people to watch — not just me.
Pro Tip: If your goal is to grow on YouTube, think about how to keep your audience entertained even when the fishing is slow. That means filming transitions, showing your thought process, and capturing the full story of your trip.

Step 2: Choose the Right Gear
You don’t need a Hollywood camera crew to film fishing videos. You just need the right gear for your stage:
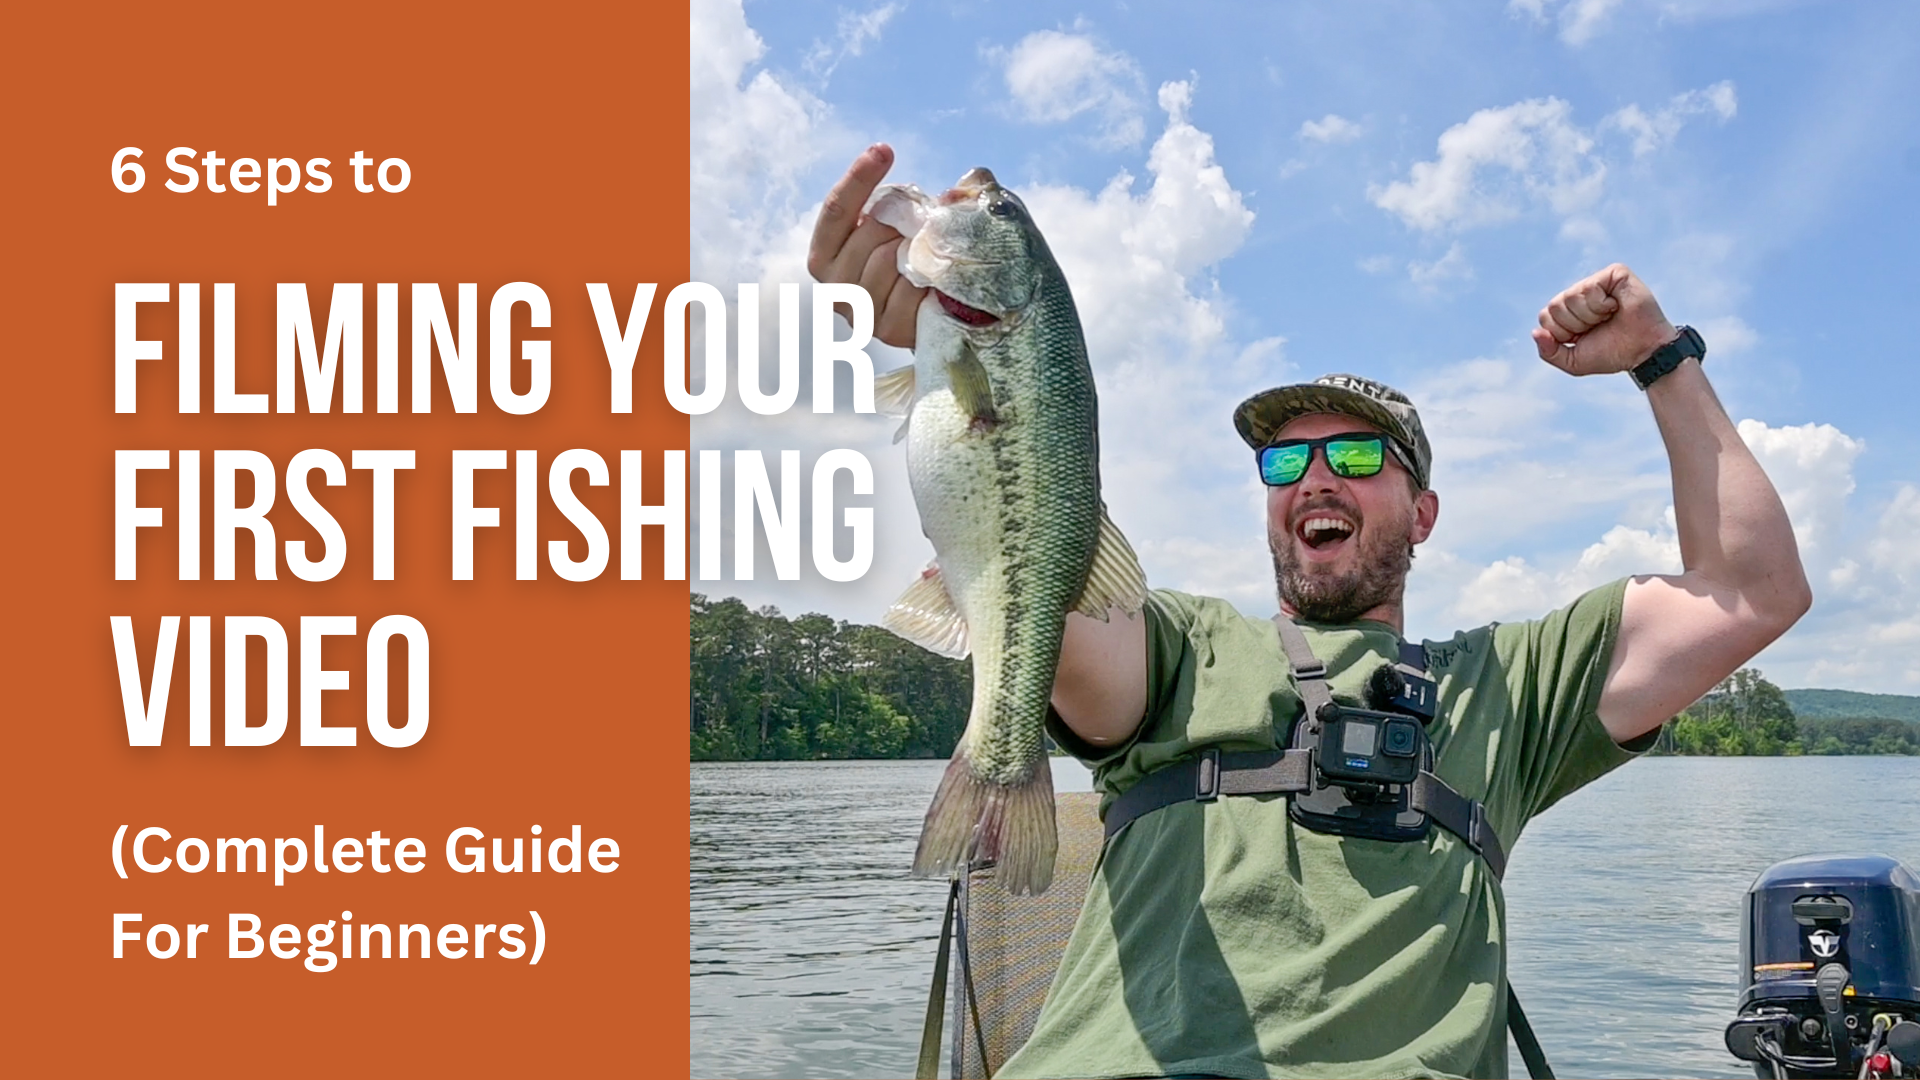
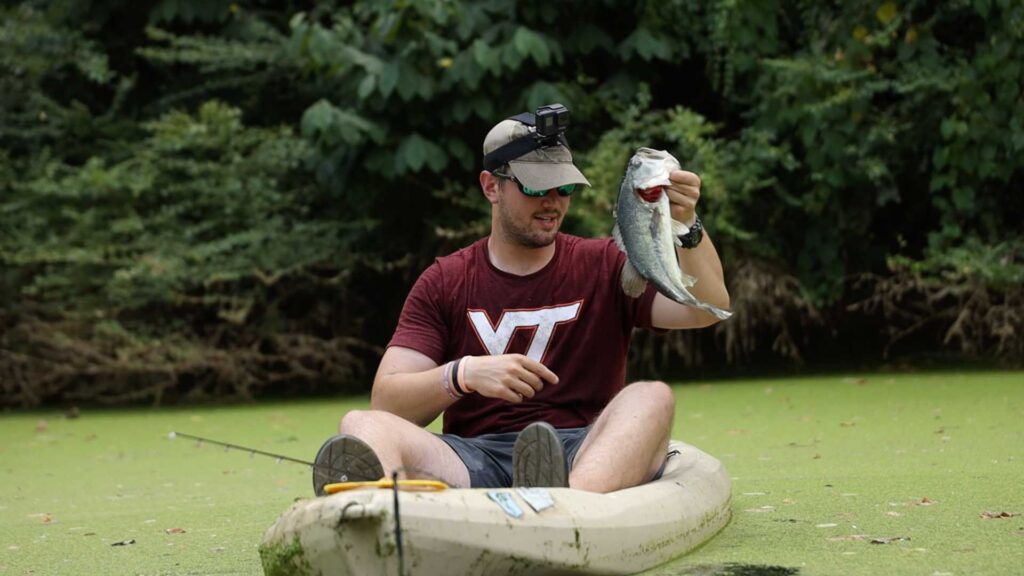
Beginner Setup – GoPro Hero 12 Black or GoPro Hero 10 Black with a GoPro Chest Mount.
Why: Waterproof, easy to use, captures everything hands-free.
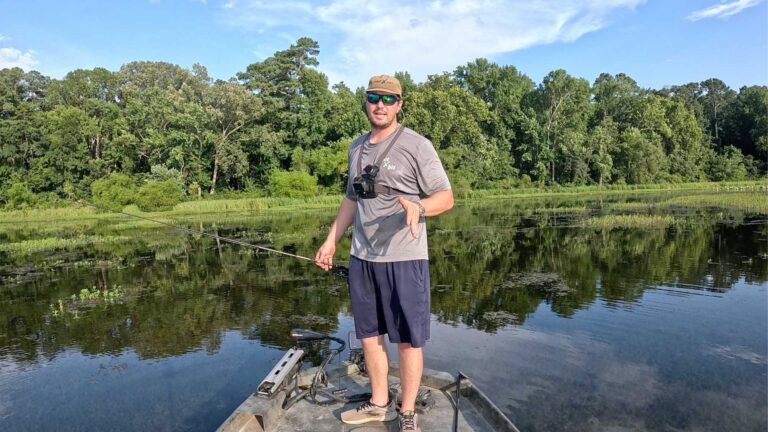
Intermediate Setup – Nikon Z30 Creator’s Kit with a Rode VideoMic.
Why: Better image quality and audio, perfect for vlogging.
Advanced Setup – Canon EOS R with professional lenses.
Why: Cinematic shots, depth of field, and pro-grade image quality.
Bonus Tool – DJI Mini 3 Drone.
Why: Drone footage adds depth, transitions, and epic scenery.
Pro Tip: Start with a GoPro, learn the basics, then upgrade as your skills and channel grow.

Step 3: Prioritize Audio Quality
Here’s the hard truth: bad audio ruins good video.
GoPro mics are decent, but wind on the water will make your footage unwatchable. I use the Rode Wireless GO II system — a wireless mic setup that gives me clean audio all day.
The receiver sits on whichever camera I plan to keep running nonstop.
The transmitter clips to my shirt or jacket.
Even in windy conditions, the audio stays clear.
Pro Tip: Never underestimate audio. People will forgive shaky video, but they’ll click away if the sound is rough.

Step 4: Use Multiple Camera Angles
Fishing can be slow, so variety in your footage is key. I rely on three main angles:
Back shot – A GoPro mounted behind me on a stick or YOLOtek PowerStick. This shows the whole scene.
Chest mount – A POV angle for casting, reeling, and pointing out structure.
Drone shots – For transitions, changing spots, or showing off where I’m fishing.
These angles let me switch back and forth in editing so the video feels dynamic.
Pro Tip: Even a cheap tripod or suction cup mount in the corner of your boat can add valuable variety.

Step 5: Capture the Essentials
When I’m filming, I aim for a checklist:
2–3 fish catches (enough to tell a story)
Continuous back shot footage (always rolling)
An intro and outro (even if I re-record later)
Drone and B-roll for transitions
If I get those, I know I can make a strong 12–15 minute YouTube video.
Pro Tip: If the bite is slow, keep filming transitions — moving spots, changing lures, even eating lunch. It keeps your video relatable and authentic.
Step 6: Keep Cameras Rolling With External Power
Early on, I used to wait until I felt a bite to hit record. Big mistake. By the time the GoPro turned on, the fish was gone.
The solution? External batteries.
For chest mounts: Anker External Battery Pack — sits in your pocket, powers your GoPro all day.
For back shot cameras: YOLOtek Juice Bank Gen4 — mounts right into your boat’s power, keeps rolling for hours.
Pro Tip: Don’t fight battery life. Power your cameras externally and focus on fishing.
Contact Me:
If you have any questions about spring fishing on Guntersville Lake or want more tips on improving your fishing strategy, feel free to reach out!
Instagram: @huntxcoop
Facebook: HuntxCoop
YouTube: HuntxCoop
Website: huntxcoop.com
Email: [email protected]
I’m always sharing tips, new content, and exciting stories from my adventures. Be sure to follow me on social and check out my other blogs on my website for more travel guides, fishing tips, and outdoor adventures!
FAQ: Filming Fishing Videos
1. Do I need a GoPro to film fishing?
No, but GoPros are the easiest way to start.
2. How long should my videos be?
10–15 minutes for YouTube is the sweet spot.
3. How do I fix wind noise?
Use a wireless mic like the Rode Wireless GO II.
4. How do I save battery life?
Use external packs like the Anker or YOLOtek Juice Bank.
5. Do I need a drone?
Not required, but it makes your content stand out.
